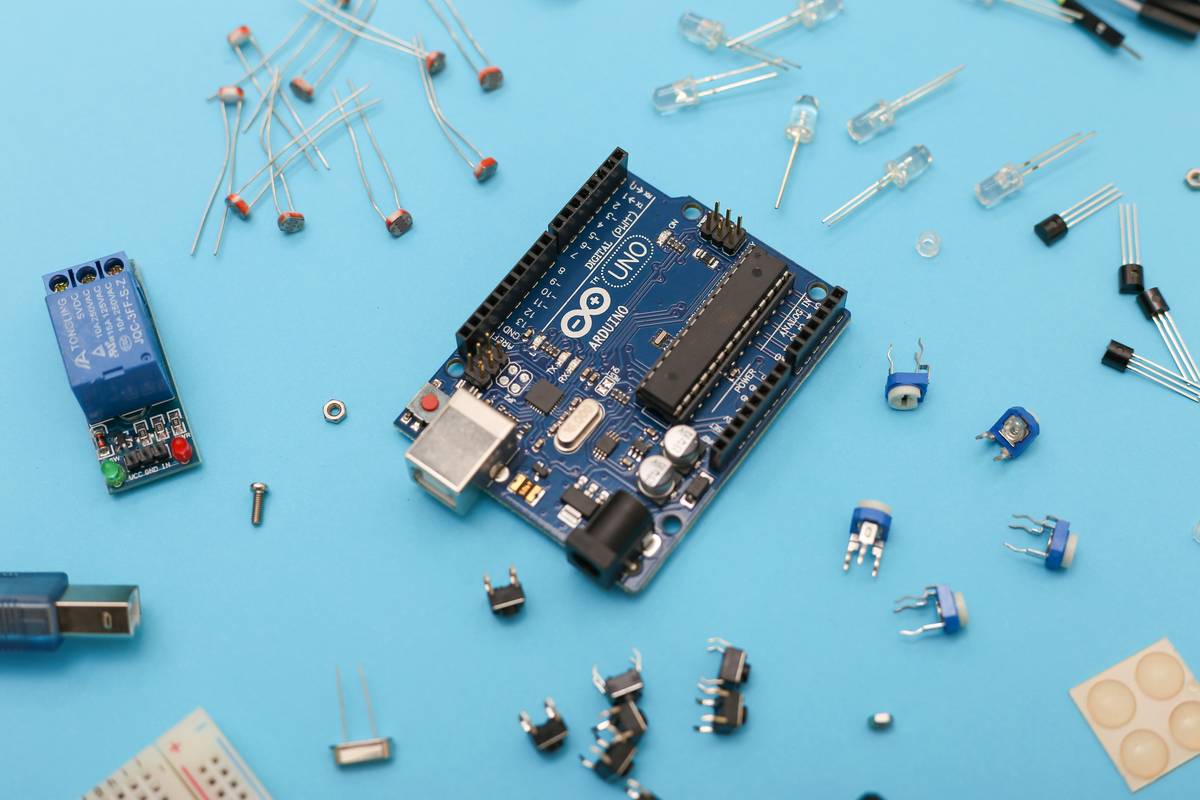
You’ve got the board. You’ve watched three YouTube tutorials. But your Arduino still blinks like it’s stuck in 2005—or worse, does nothing at all. Frustrating? Absolutely. And it’s not your fault. Most “beginner” guides skip the gritty reality: wiring errors, power mismatches, and software ghosts that kill momentum before the first LED lights up. Here’s how to actually get your diy electronic arduino how to run—without losing your mind.
Why Your Arduino Setup Keeps Failing (Even When You “Did Everything Right”)
Most failures aren’t about code. They’re about context. You plug in a sensor from 2018 into a tutorial written for 2023—and wonder why analogRead() returns garbage. Or you use USB power for a motor-heavy project and fry your regulator. The real issue? Generic advice ignores component age, power budgets, and signal integrity.
And yes—your “genuine” clone might be running outdated bootloader firmware. It happens more than vendors admit.
diy electronic arduino how to run: A No-BS Step-by-Step Workflow
Forget copy-pasting sketches. Start here:
Gather the Right Hardware (Not Just “Any Arduino”)
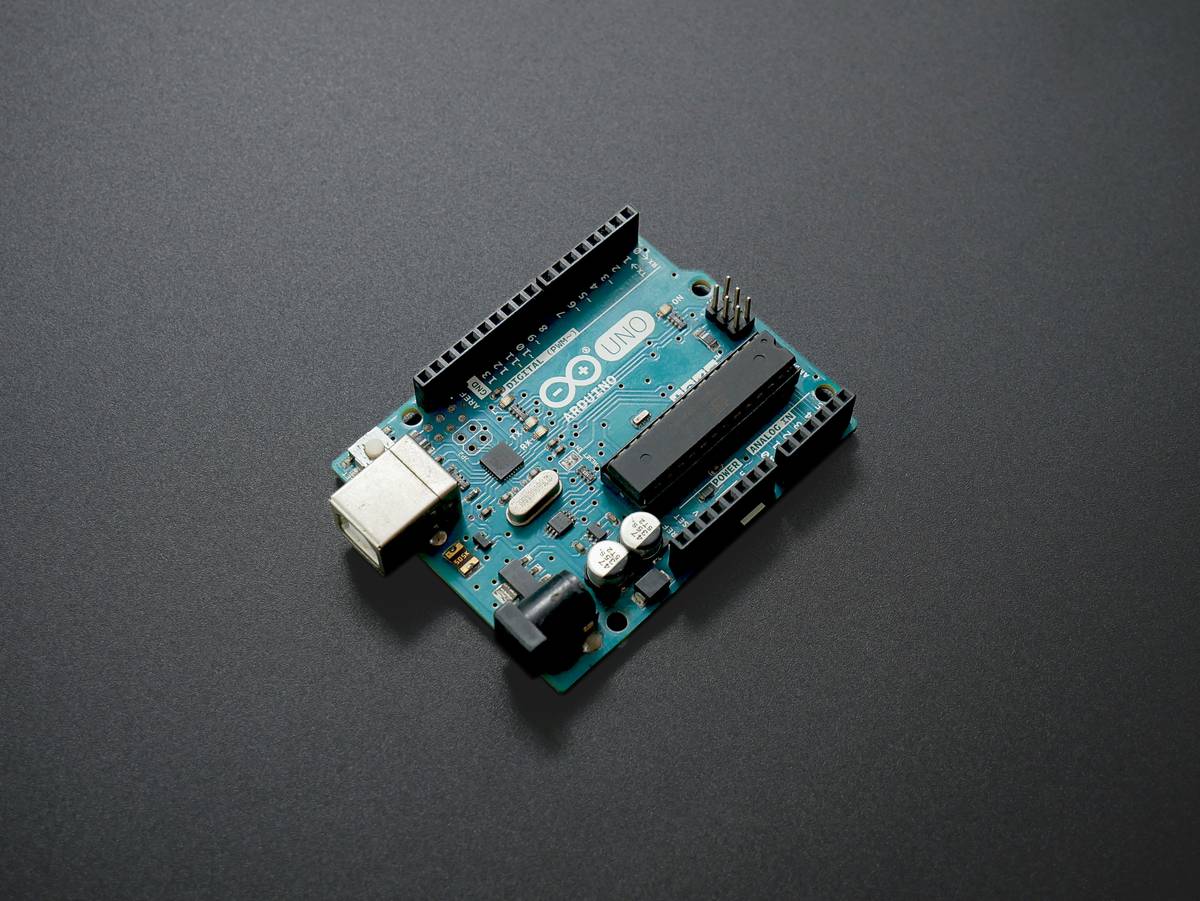
Use an Arduino Uno R3 or Nano for true beginner-friendliness. Avoid obscure boards with dodgy driver support. Verify your USB cable actually carries data—not just power. (Yes, those exist.)
Install the IDE Like a Pro
Download only from arduino.cc. Skip third-party installers—they bundle bloat or malware. After installing, open File > Preferences and enable verbose output during upload. This shows you exactly where communication fails.
Write Minimal, Testable Code
Start with this skeleton—no libraries, no delays:
void setup() {
 pinMode(LED_BUILTIN, OUTPUT);
}
void loop() {
 digitalWrite(LED_BUILTIN, HIGH);
 delay(100);
 digitalWrite(LED_BUILTIN, LOW);
 delay(100);
}
If this doesn’t blink, your toolchain is broken—not your project idea.

Power and Grounding: The Silent Killers
Always connect GND between your Arduino and external components. Floating grounds cause erratic behavior that looks like software bugs. For projects drawing >500mA, use an external 5V/2A supply tapped into VIN—not USB.
| Power Source | Max Current | Safe For | Risk if Overloaded |
|---|---|---|---|
| USB Port | 500mA | Basic sensors, single LEDs | Port shutdown, unstable serial |
| Barrel Jack (7-12V) | ~800mA (via onboard regulator) | Small servos, multiple sensors | Regulator overheats, resets |
| External 5V to VIN | Limited by supply | Motors, relays, LED strips | Bypasses protection—use fuse! |
The Industry Secret: Blink Is Your Diagnostic Swiss Army Knife
Seasoned engineers don’t debug complex sketches first. They abuse Blink. Modify it to pulse once on startup, twice on sensor trigger, thrice on error. That pattern tells you instantly whether your code reached a function—without serial monitors or extra hardware. It’s low-tech, but brutally effective.
Here’s the twist: embed timing pulses too. If your loop takes 12ms instead of 2ms, you’ve found a hidden bottleneck. Real diagnostics start with intentional simplicity—not bloated debugging libraries.
Frequently Asked Questions
Can I run Arduino without a computer?
Yes. Once code is uploaded, Arduino runs standalone. Power it via battery, adapter, or solar—but ensure clean 5–12V input.
Why does my code upload but nothing happens?
Check power delivery first. Then verify pin assignments—some clones label pins differently. Finally, test with Blink to isolate hardware vs. logic issues.
Is Arduino Uno better than Nano for beginners?
Uno offers easier USB connectivity and robust headers. Nano saves space but risks loose breadboard connections. Start with Uno unless size is critical.