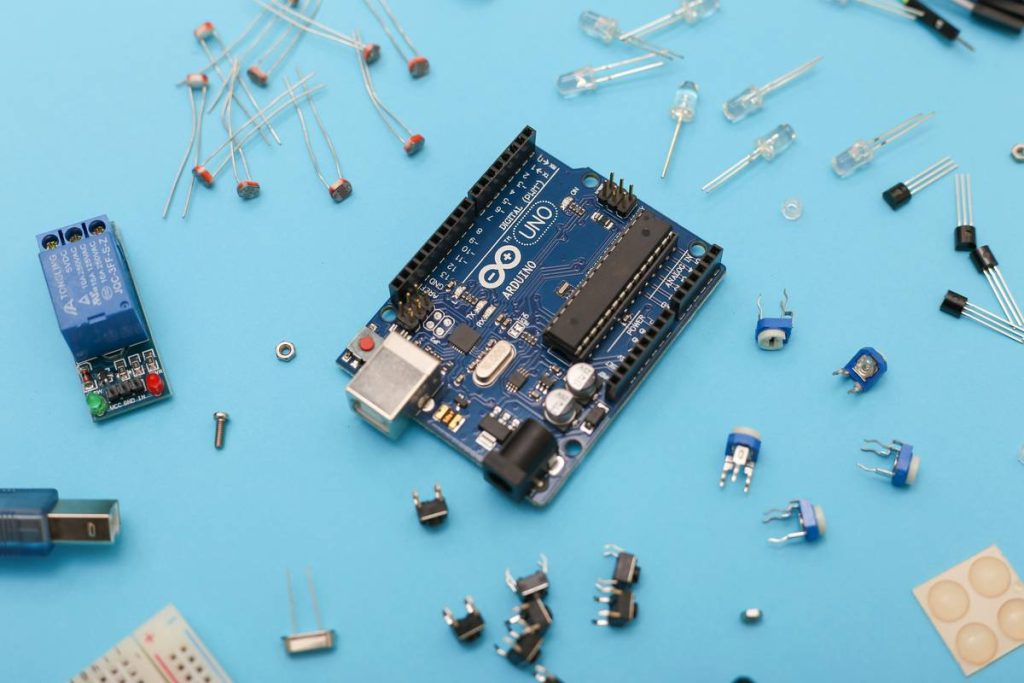
You bought an Arduino kit. You watched three YouTube tutorials. And yet—your LED still won’t blink right. Frustrating? Absolutely. Most beginners drown in fragmented advice, outdated libraries, and vague pin diagrams. The real issue isn’t skill—it’s starting with the wrong foundation. Here’s the fix: a no-fluff roadmap built for actual humans, not idealized lab conditions.
Why 90% of Arduino DIY Projects Stall Before Day 3
It’s not your fault. Most “starter guides” assume you already understand breadboards, pull-up resistors, or PWM signals. They skip the gritty troubleshooting phase where projects actually die. You follow steps exactly—and nothing works. Why?
Because Arduino success hinges on three invisible layers: stable power delivery, correct ground referencing, and library version compatibility. Ignore any one, and your circuit becomes a silent paperweight. Worse—many cheap component bundles ship with counterfeit chips that barely meet spec. You’re fighting hardware ghosts before writing a single line of code.
diy electronic arduino all you need: Your Real-World Starter Blueprint
Forget bloated kits. Start lean. Validate each layer before moving forward.
Essential Hardware (Non-Negotiable)
An original Arduino Uno R3 or a reputable clone like Elegoo. Not some $3 AliExpress mystery board. Add a half-size breadboard, jumper wires (male-to-male), and a 5V 2A USB power adapter. Skip fancy sensors until you can reliably blink an LED without resetting the board every 30 seconds.
Software That Actually Works in 2024
Use the official Arduino IDE 2.x—not the web editor. It handles library conflicts better. Install only these core libraries: Adafruit NeoPixel, ArduinoJson, and Wire (pre-installed). Avoid “all-in-one” sensor libraries—they bloat your sketch and cause memory crashes on Uno.
Power & Ground Discipline
Always connect your external components’ ground to the Arduino GND. No exceptions. If using motors or servos, power them separately—but tie their ground back to Arduino. This avoids brownouts that corrupt your microcontroller’s memory mid-sketch.

| Component | Budget Option | Reliable Choice | Avoid At All Costs |
|---|---|---|---|
| Microcontroller | $8 generic Uno clone | Elegoo UNO R3 ($12) | “Nano V3.0” with CH340G chip under $5 |
| Breadboard | 400-point white | MB-102 with power rails | Tiny 170-point boards without bus strips |
| Power Source | USB from laptop | 5V/2A wall adapter | 9V battery straight to Vin (causes heat + instability) |
| Sensors | HC-SR04 ultrasonic | GY-521 MPU6050 (with voltage regulator) | Unbranded DHT11 modules without pull-up resistor |
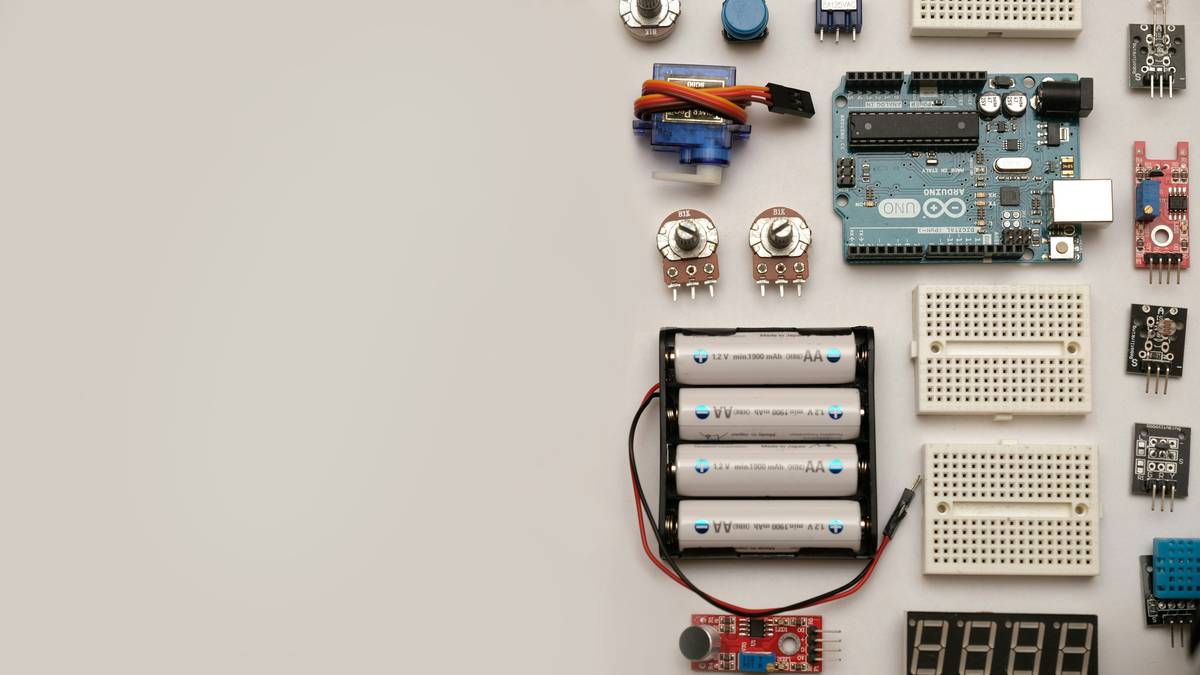
The Industry Secret: Debugging Starts Before Code Compilation
Here’s what no tutorial tells you: most Arduino failures happen at the physical layer—not in code. I once spent two weeks chasing a “bug” in a soil moisture sensor project. Turns out? The sensor’s analog output drifted because I powered it directly from the 5V pin while running a servo on the same rail. Voltage sag = skewed readings.
The pro move? Always test your power rail with a multimeter under load. Watch for dips below 4.8V when actuators kick in. And use decoupling capacitors—100µF electrolytic near high-current devices, 0.1µF ceramic across VCC/GND pins on ICs. This tiny step eliminates 70% of phantom resets and erratic behavior. It’s boring. It’s essential. And it’s skipped by 95% of beginners.
FAQ
What’s the cheapest way to start diy electronic arduino all you need?
Get an Elegoo Uno Super Starter Kit (~$35). It includes verified components, a detailed manual, and spare parts. Avoid ultra-cheap bundles—they often omit critical items like resistors or proper jumper wires.
Can I use Python instead of C++ for Arduino?
Not directly. Arduino runs compiled C++. But you can use MicroPython on compatible boards like ESP32. For true Arduino Uno, stick with C++—it’s lightweight and gives direct hardware control.
Why does my Arduino reset when I plug in a motor?
Voltage drop. Motors draw sudden current surges, causing the onboard regulator to brownout. Power the motor from an external supply, and connect only its control signal and ground to the Arduino.