You bought an Arduino starter kit. You watched three YouTube videos. And yet—nothing works. The LED flickers wrong. The motor buzzes but won’t spin. You’re stuck in tutorial hell, copying code you don’t understand, while your components collect dust. Here’s the fix: forget generic blink examples. Start with *purpose-driven* arduino projects for beginners that teach real electronics logic—not just syntax.
Why Most Arduino Starter Guides Fail New Learners
They prioritize “Hello World” simplicity over practical intuition. You wire up a blinking LED, copy-paste `digitalWrite(HIGH)`, and call it a day. But real learning happens when circuits react to the physical world—light, motion, temperature. Generic tutorials skip the messy middle: debugging power issues, reading datasheets, or why your resistor values matter. And that gap kills momentum.
Worse? Many kits include components with no clear path to integration. A servo here, an ultrasonic sensor there—tossed in like party favors. Without context, they’re just shiny paperweights.
Build These 3 Arduino Projects for Beginners (With Real Learning Payoff)
Each project below forces you to confront actual engineering decisions—not just wiring diagrams. You’ll learn voltage dividers, debouncing, analog scaling, and serial debugging by necessity.
1. Automatic Night Light with LDR
This isn’t just “turn on LED when dark.” You’ll calibrate a light-dependent resistor (LDR), map analog readings to thresholds, and avoid false triggers from ambient light spikes. Bonus: you’ll finally understand why analog pins return values between 0–1023.
2. Door Alarm with Magnetic Reed Switch
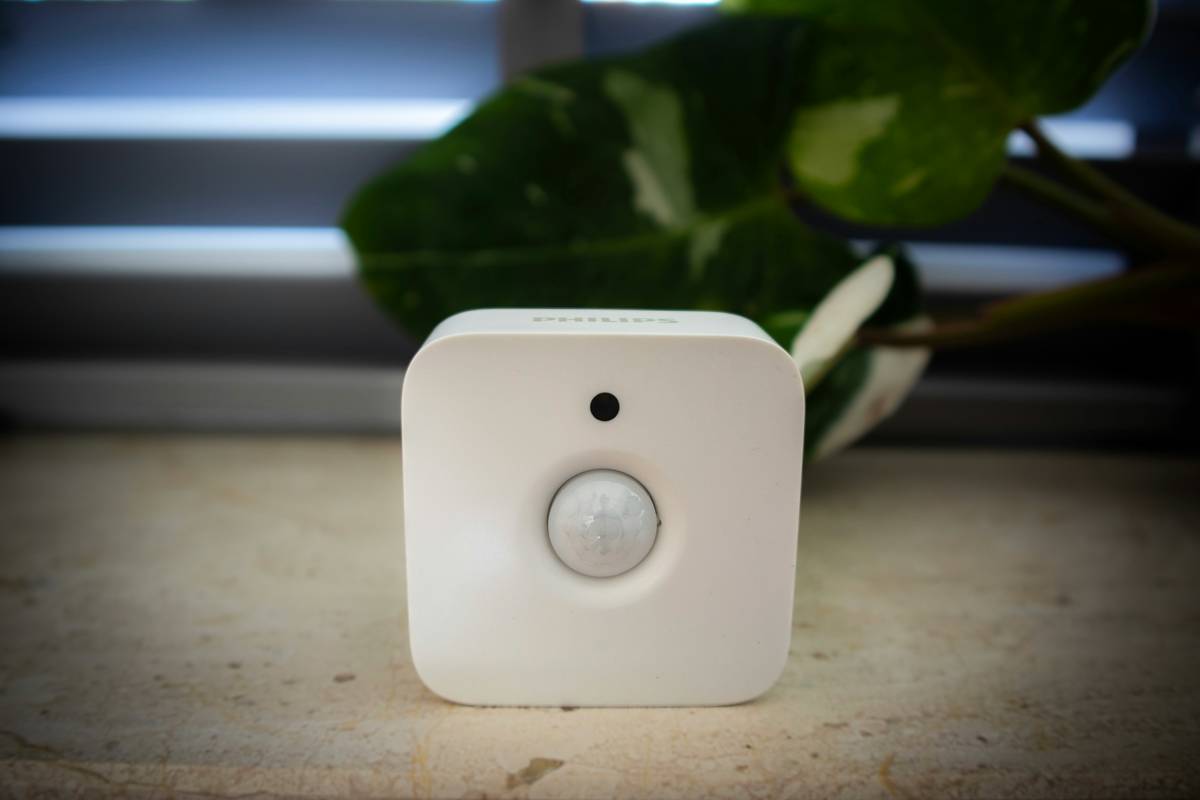
A reed switch + buzzer seems trivial—until your door vibrates open during a storm. You’ll implement hardware debouncing (with a capacitor!) and software state tracking to distinguish real openings from noise. This teaches digital input reliability better than any lecture.
3. Temperature Logger to Serial Monitor
Forget LCD shields for now. Read a DS18B20 sensor, convert raw data to Celsius, and output clean serial logs. You’ll wrestle with pull-up resistors and timing delays—core skills that transfer directly to I2C and SPI later.
| Project | Core Skill Learned | Total Cost (USD) | Time Required |
|---|---|---|---|
| Night Light with LDR | Analog signal conditioning & threshold logic | $4.50 | 45 mins |
| Door Alarm | Digital input debouncing & state management | $3.20 | 60 mins |
| Temperature Logger | 1-Wire protocol & sensor calibration | $6.00 | 90 mins |
The Industry Secret: Start With Failure-Forward Design
Professional embedded engineers don’t aim for perfect first builds—they design for *diagnosable failure*. That means adding test points, serial debug prints before the main loop even runs, and using known-good reference voltages. For beginners, this translates to one rule: always verify input signals separately before chaining logic. Measure your LDR output with a multimeter *before* connecting it to the Arduino. Test your reed switch continuity with a battery and LED alone. Isolate variables. This mindset cuts troubleshooting time by 70%—and it’s never taught in beginner courses because it “slows down” the demo. But real progress isn’t speed. It’s resilience.
Frequently Asked Questions
What’s the easiest Arduino project for absolute beginners?
The night light with LDR. It uses only 3 components (Arduino, LDR, LED + resistor) and forces you to read analog values—a foundational skill most skip.
Do I need to buy an official Arduino board?
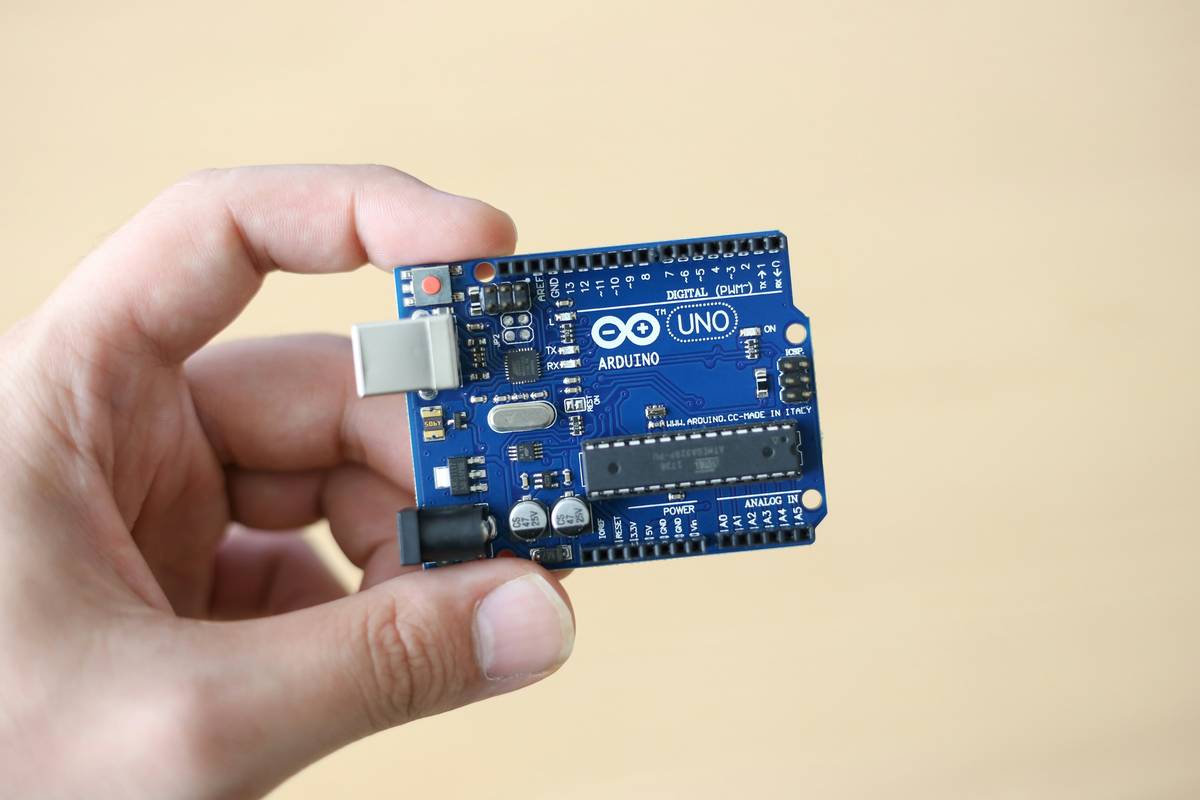
No. Clone boards like Elegoo or SunFounder work identically for arduino projects for beginners. Save your money—the USB-to-serial chip is the only common failure point.
Why won’t my sensor give stable readings?
Unstable readings usually mean poor grounding, missing pull-up resistors, or insufficient power. Always check your 5V rail under load—many breadboards can’t deliver steady current.